
Composting Humanure on land – a detailed look
This article was written for WooWoo by John ‘Compost’ Cossham, one of the UK’s leading composting experts. You can also listen to WooWoo’s Martin Doyle
With the concealing flap upgrade now available for everyone who has purchased a Separett Tiny from us, we’ve pooled the information from Separett, together with our own thoughts, to help you fit the upgrade.
Firstly, it should be noted that many users have not found any issues at all with the operation of the concealing flap. However, some users reported that the concealing flap wasn’t always opening fully when you sat down on the Tiny to use it. This was more pronounced for lighter weight people and children.
In addition, some users told us that when they shifted their weight forward (when wiping for example), the screen started to close a little. This happens because the mechanism is operated from pressure at the rear of the seat and could be quite sensitive to weight (see above problem).
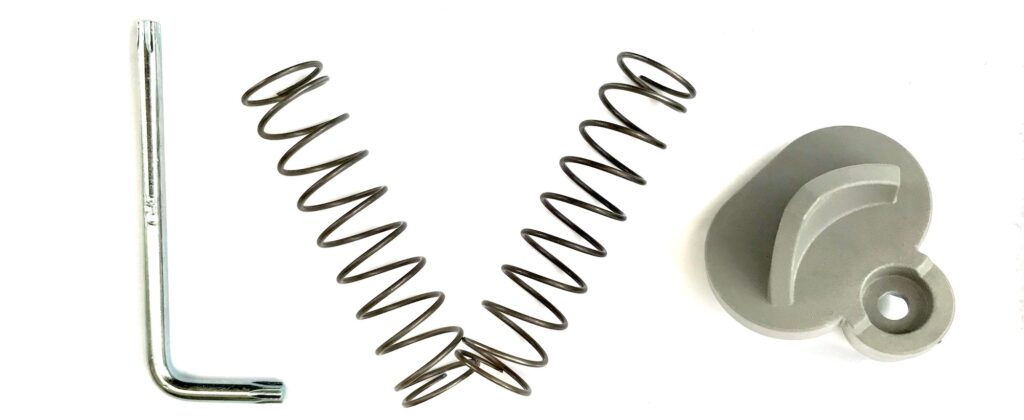
The upgrade consists of two key components that need to be changed by the user, and a tool to remove/tighten the screws:
The upgrade has been extensively tested by ourselves in the UK (with help from some willing volunteer customers) and in other regions across the world. In every case, there was a marked improvement in the operation of the concealing flap with users commenting that it opened easier (ie with less weight/pressure), stayed open as needed and had a ‘definitive’ closing action when the user stood up.
The upgrade is straightforward – we suggest you work slowly and methodically. When you remove the old components, immediately set them to one side to ensure you don’t get them mixed up with the new ones.
Printed instructions will come with the upgrade kit, however, you can also download the PDF (see below). Read the instructions carefully, making sure you understand what is required at each step.
To help you further, watch this short video from Separett, which shows the steps involved:
Everyone who has purchased a Separett Tiny from us will be emailed with details of how to get the upgrade kit. If you have not received your email (check your spam folder), or if your email address has changed since you made your purchase, please get in touch with one of our friendly team.
This article was written for WooWoo by John ‘Compost’ Cossham, one of the UK’s leading composting experts. You can also listen to WooWoo’s Martin Doyle

It’s always great to see how customers install their compost toilets along with the reasons they chose the model they did. Dean was purchasing a

Urine scaling (aka calcification) is a potential problem for all toilets (flushing or waterless). In urine-diverting toilets where the liquid goes ‘away’ (for example to